My RACO GN BUILD

This is your place to post your restoration from start to finish. Factory built cars only. All others go in the home brew section.
Domb1972
1/4 scale guru
Posts: 106
Joined: March 1st, 2011, 9:55 pm

Re: My RACO GN BUILD

Post by Domb1972 »

WOW! What a pain in the butt, But got one side of the front suspension done :D I have the other side and the steering tie rods and I will have everything polished out . I should have it knocked out tomorrow . I am still waiting on my top and bottom chassis plate to get dont at the machine shop as soon as I get those I will start the build, Ofcorse after I clean everything up this polishing is MESSY! I got black stuff every where LOL but in the meantime I am going to start stripping down the body and get it ready to mask off and paint.

Image

Image

Thanks Dom
Domb1972
1/4 scale guru
Posts: 106
Joined: March 1st, 2011, 9:55 pm

Re: My RACO GN BUILD

Post by Domb1972 »

Hey Monk

Yea I took the top and bottom plastic piece to my wifes work and they are doing the drawinging and measuring and cutting me the top plate out of .80 aluminum to keep the weight down and the bottom out of 1/8 alum (stock thickness) I will polish both plates out. All the high dollar work to machine these plates have been paid so now its just a minimal charge to run them I will be selling them on ebay. Also having the rear shock mount cnc'ed out of aluminum also and the good thing about it is it can be used on all the Raco cars I will be selling these on ebay as well.

I plan on going to a bigger motor like the ZOE 260RC and wanted to makethe chassis tougher
Also I went with a slightly thinner aluminum on the front bumper brackets to help with impacts
so if I hit somthing head on then the brackets will take the impact saing the rest of the car from breaking weaker components like the a-arms ,etc.. becuase the chassis was design with KADEK for a reason to absorb impacts and flex. And now I am going with aluminum I need a week point. Also I will cut the front bumper out of Kadek but I am cutting it wider so it covers the the front wheels and I plan on making some dowles to attach to the kadek bumper and will cut foam and slide it down oer the front bumper to help more with impacts and plan on doing the same with the rear. :D :D :D :D Hopefully my plates will be done next friday, I will post pics of the parts.

Thanks Dom
Domb1972
1/4 scale guru
Posts: 106
Joined: March 1st, 2011, 9:55 pm

Re: My RACO GN BUILD

Post by Domb1972 »

Well I finally got the whold car polished out I finished up the steering today I had to rebuild the steering mount the gy had it rigged with a rubber hose so I cut a thraded tube to link, got lucky and found the other bushing in the parts box it was seazed on the old shaft so i headed up and gave it a quick wack with a hammer and socket and it popped right off. I polished the rods,springs,etc.... I think It turned out GREAT!

Image

Image


I Also got the other front end parts done :D So now I am just waiting on my plates and the few parts I took to the Powder coater's . In the mean time I got all the old decals and sticker glue off the body today That took forever, what a pain it was getting that glue off. But got it all off and I Will sand the body down tomorrow and patch up a couple of holes that where cut into the body. I got some plastic epoxy it can flex and can be sanded and painted so should be easy repair.

Image

And the body

Image

Image

Image

Image

More to Come
Thanks Dom
luv2flyrc
Newbie
Posts: 18
Joined: February 2nd, 2011, 8:43 am
Location: Binbrook, ON, Canada

Re: My RACO GN BUILD

Post by luv2flyrc »

Hi Dom,

I'm new on here and I've been following your thread. Your Raco GN is coming along nice and the parts that you've polished so far look awesome. Keep up the good work and can't wait to see the finished product!!

Have fun,

Dave
Domb1972
1/4 scale guru
Posts: 106
Joined: March 1st, 2011, 9:55 pm

Re: My RACO GN BUILD

Post by Domb1972 »

Thanks Luv2flyrc :D Its alot of work, but it's a labor of LOvE :D

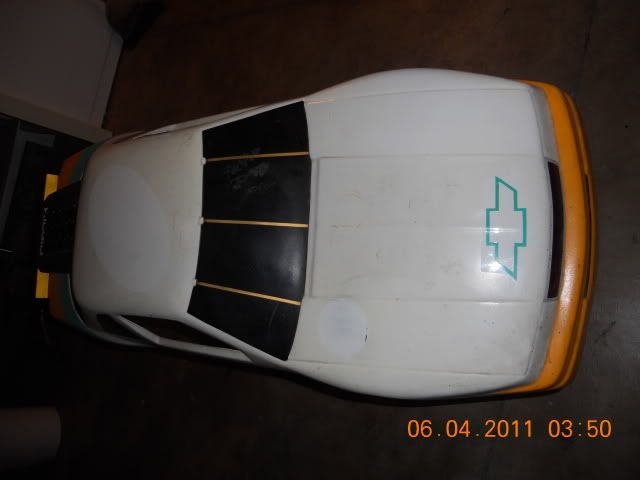
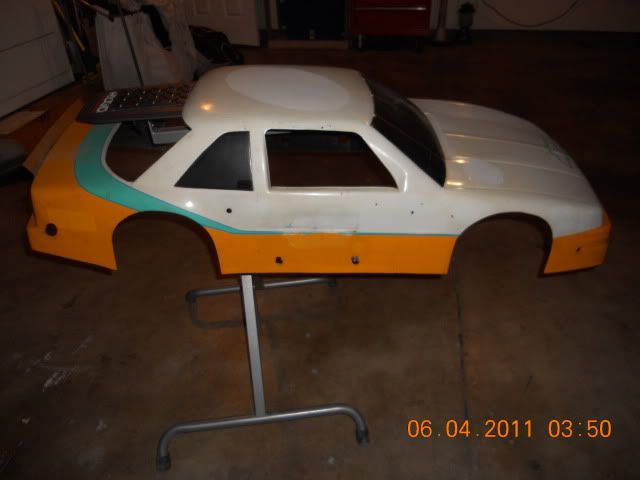
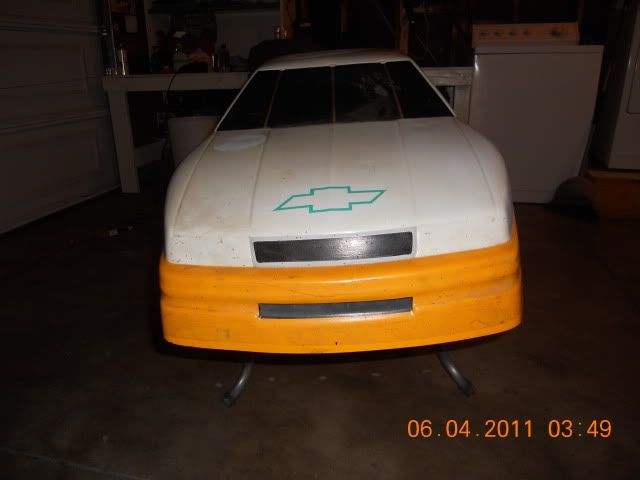
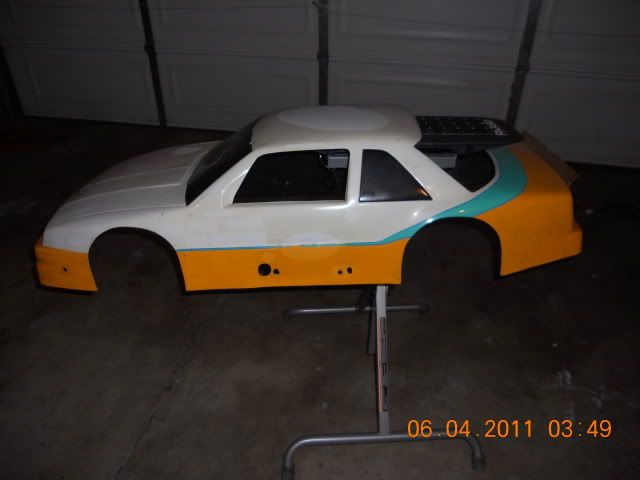
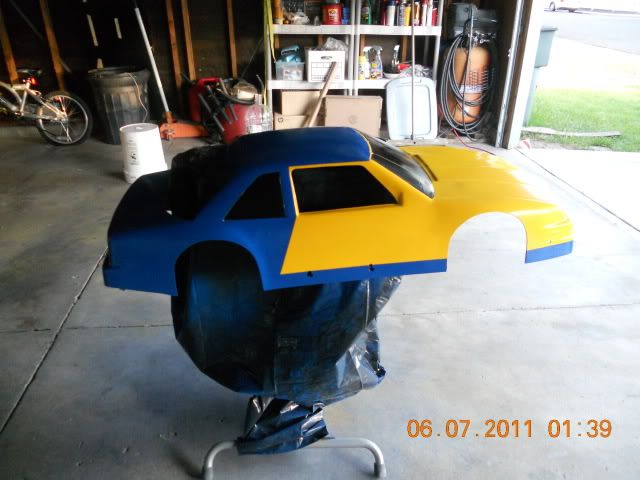
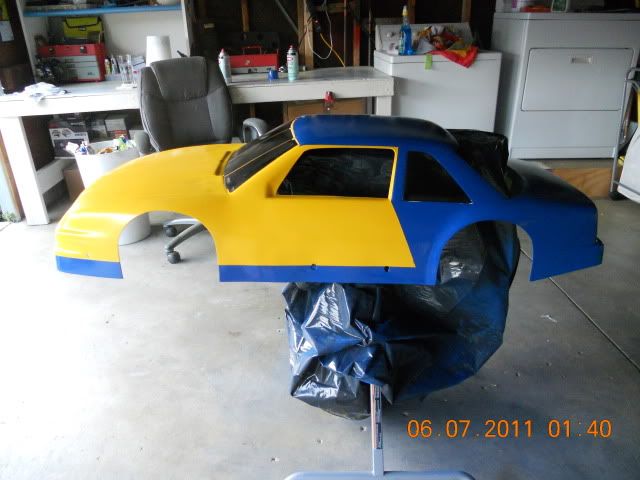
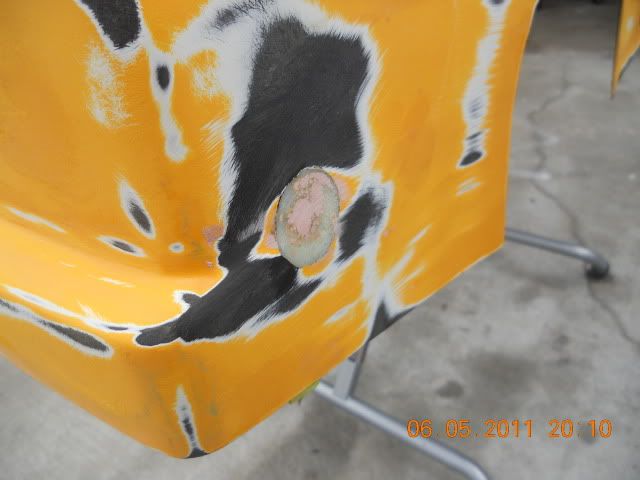
Well I got the body all sanded and I patched up all the holes. I used a plastic epoxy and it worked great as far as curing to a rock hard bond and flexs but when the cases release as it cures it makes very small pin holes so after sanding it down I mixed up some bondo and just filled in the pin holes. Then I went back and sanded. Came out nice its flush and smooth.

Image

Image

Image

Image

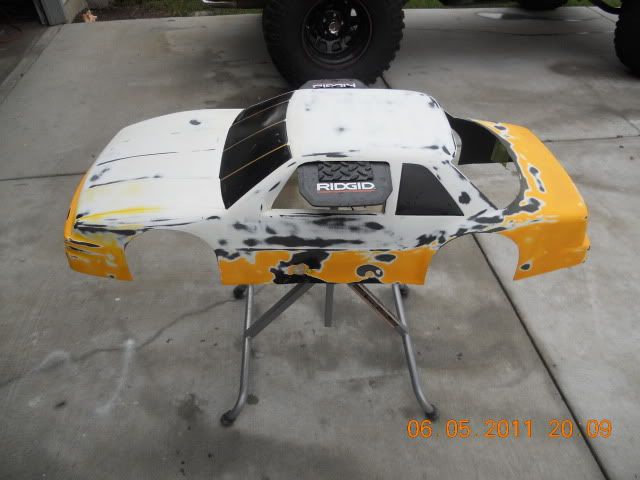
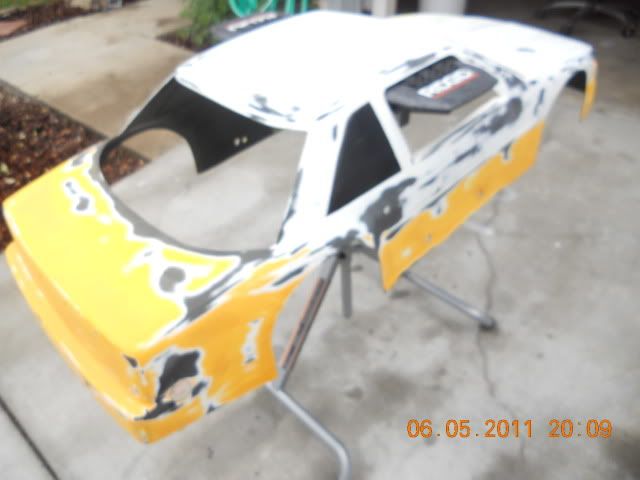
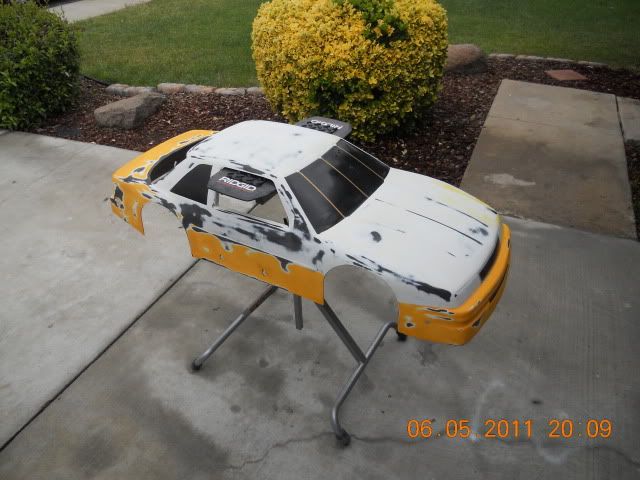
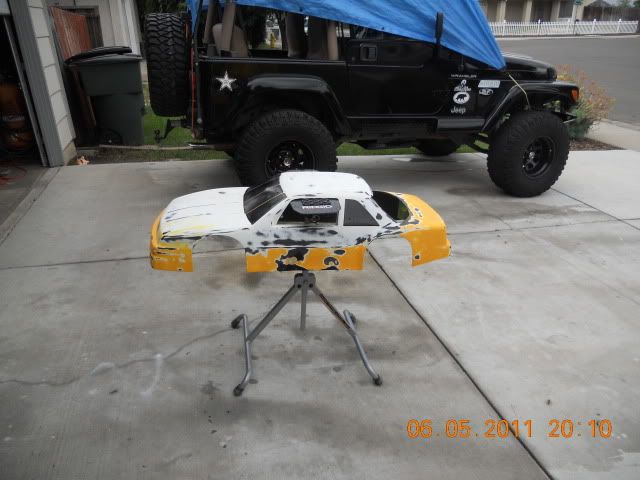
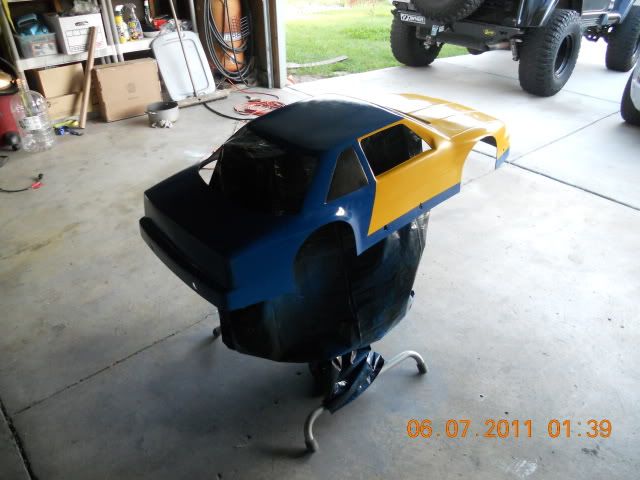
Here is a pic of the hole I patched.

Image

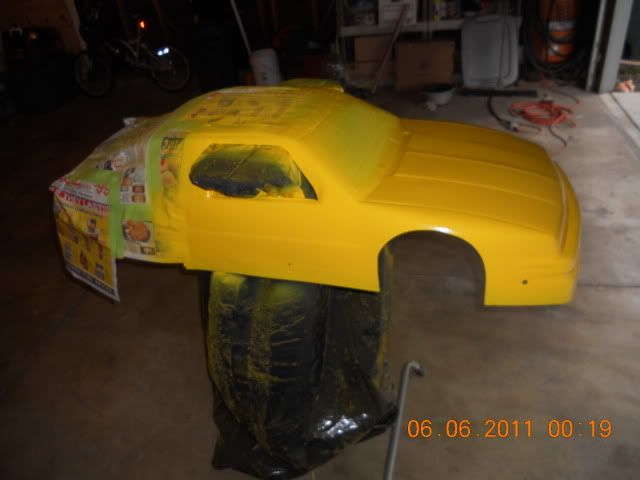
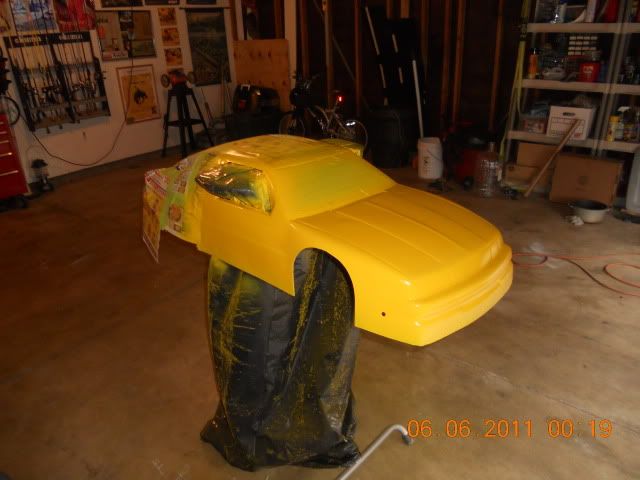
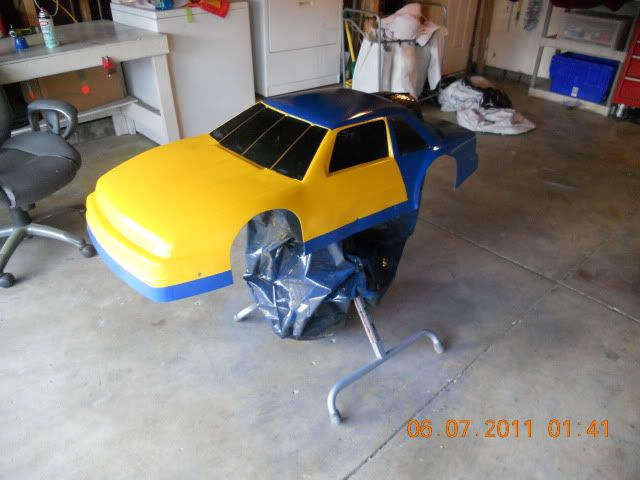
I just washed it all down and letting it dry, as soon as its dry I will start masking it off then wipe it down with a mineral spritz then tack cloth it. Then it will get PAINT!!!

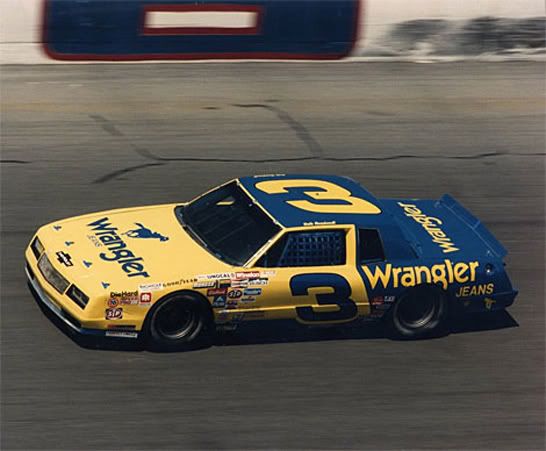
I need to send out a few BIG THANK YOUS first to CRYO-TEK He helped me out and sent me 2 templates and a front shock mount!!!!! And he did all this for no charge!!!!! THANKS CRYO-TEK!!!!!! And second to Joe @ JG Products he is making my Decals and doing them in all Vintage Dale Sr. 1980's Wrangler Nascar. ( my buddy just did not hae the right equipment to make the decals I needed so I had to resource them)

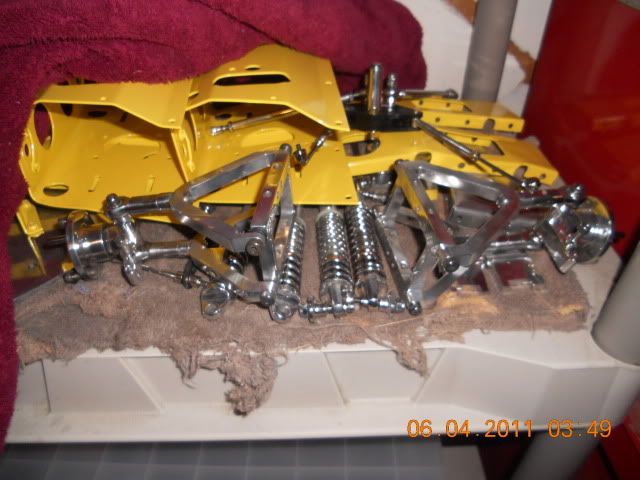
Well I hope to have the body painted this week and hopefully my parts will be done at the machine shop this Friday then i can start the build. :D :D :D
Domb1972
1/4 scale guru
Posts: 106
Joined: March 1st, 2011, 9:55 pm

Re: My RACO GN BUILD

Post by Domb1972 »

One more note on the body, I did not sand the windows or the grill they were painted before and in great condition so i am just masking those off. Saves me the hassle of having to go back and paint the windows and grill again.

Thanks Dom
Domb1972
1/4 scale guru
Posts: 106
Joined: March 1st, 2011, 9:55 pm

Re: My RACO GN BUILD

Post by Domb1972 »

Hey Monk Thats a great idea ans I hae thought about it but I just dont know how I would do that, The windows would hae to be curved , I might do it out of then lexan will think about that.

I got the body masked off and shot the yellow tonight , I AM STOKED!!!! I think it turned out GREAT!!!!! :D :D :D I used the KRYLON FUSION for plastic and I must say if you put the time in on the sanding (even though they say no sanding required I think it makes a huge difference) You will have a great finish.

Image

Image

Now I am gonna let this cure for 7 days befor I peel the tape and mask off the yellow to shoot the blue. So for now I am at a stand still.
PTModIT
1/4 scale guru
Posts: 496
Joined: November 2nd, 2009, 6:54 pm
Location: Fort Erie,Ontario.

Re: My RACO GN BUILD

Post by PTModIT »

Hi, You are going to leave the tape on for 7 days.I see you used the green painters tape maybe you can do that with that type of tape. You won't have any problems peeling it off .I've left tape on for that long and I have problems peeling it because the tape become brittle and very dry.Sometimes even chipping the paint.I've experienced that when I paint my guitars.Areas like the neck pocket and control cavity has the tape on for that long and that's what happens.I always now remove the tape as soon as the paint is dry to the touch in about a hour or two.I'am not at all knowledgeable when it comes to the painting products.That's just what I've experienced.
Domb1972
1/4 scale guru
Posts: 106
Joined: March 1st, 2011, 9:55 pm

Re: My RACO GN BUILD

Post by Domb1972 »

Hi PTmodit

Yea your right I will peel the tape off today, I just dont want to mask it off over the yellow to shoot the blue and it peel the yellow when I remove the tape. Can says it is dry to handle in 24 hours but fully cures in 7 days.

Thanks Dom
Domb1972
1/4 scale guru
Posts: 106
Joined: March 1st, 2011, 9:55 pm

Re: My RACO GN BUILD

Post by Domb1972 »

OK After doing some research on line on the Krylon Fusion Paint I decided to mask and lay the blue today , I just got it shot so tomorrow will be the moment of truth see how well my lines come out :D Shop wanted 300.00 then tried to raise it to $450.00 I decided I would do it myself total inestment $30.00 bucks , We'll see how it turns out :D

Thanks Dom
Domb1972
1/4 scale guru
Posts: 106
Joined: March 1st, 2011, 9:55 pm

Re: My RACO GN BUILD

Post by Domb1972 »

Well I got impaitent and seeing how the paint was dry to the touch I removed the masking, It aint perfect but Im happy with the results . I plan on using my dremel and cutting out the front windshield . I ordered some 1/16th lexan sheet and picked up some micro small stainless steel bolts and nuts I plan on putting in the rear glass and the front glass I will put window nets over the drivers and passenger side door windows.

I should have my decals from Joe next week :D :D

Here are some pics again I am painting a 15-20 year old body and did it with rattle can paint .
so yall dont be to hard on me :)

The car I am building and trying to go for
Image

AND MY CAR

Image

Image

Image

Image

Now I am waiting on my plates and shock tower and decals

Thanks Dom
Domb1972
1/4 scale guru
Posts: 106
Joined: March 1st, 2011, 9:55 pm

Re: My RACO GN BUILD

Post by Domb1972 »

I have the spoiler still to paint and install, I will get it painted this week :D
User avatar
cryo-tek
1/4 scale guru
Posts: 250
Joined: August 5th, 2009, 5:48 am
Location: Novato, CA

Re: My RACO GN BUILD

Post by cryo-tek »

Well it looks like we have a painter among us! Looking good :thumbup:
User avatar
Venomusss
1/4 scale guru
Posts: 120
Joined: February 17th, 2010, 6:44 pm
Location: Sunrise, Florida
Contact:

Re: My RACO GN BUILD

Post by Venomusss »

Paint job looks great :D
Domb1972
1/4 scale guru
Posts: 106
Joined: March 1st, 2011, 9:55 pm

Re: My RACO GN BUILD

Post by Domb1972 »

Thanks yall! I was doing some more research online and found a great idea, I am going to spray the paint in a cup and use a brush to touch up a spot or 2 then it should be perfect. I did not think you could apply the paint that way but from reading reviews it can be done with great results. And Mr Monk, as much as I respect you , you can BITE ME :lol: :lol: :lol: :D :D :D :D :D :D Seriously I like the feed back good or bad :D


Really hoping my parts are done by this Friday, so I can start building.


Do yall know the size of the shock jam nuts (the thin alum nut that adjust the springs) I had a brain fart and sprayed oven cleaner on mine to revmoe the anodizing and for got about them well the oven cleaner ate em up they are destroyed. and I am haing a problem finding them. so I was hoping to use a after market set like from darksoul they make them for the HPI BAJA 5b but mine are so pitted I can not get the size off em.

Going to paint the spoiler and touch up the body :D :D


Thanks Dom
Post Reply