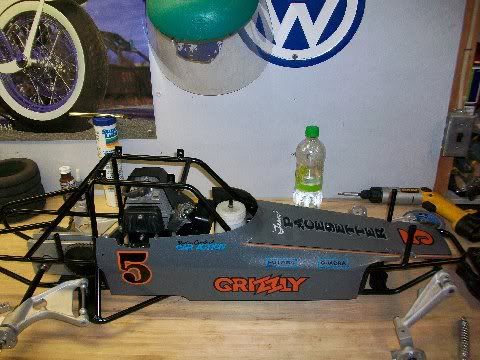
Pacesetter Grizzly Restoration

This is your place to post your restoration from start to finish. Factory built cars only. All others go in the home brew section.
Post Reply
User avatar
vwguru75
1/4 scale guru
Posts: 123
Joined: November 17th, 2013, 6:26 pm

Pacesetter Grizzly Restoration

Post by vwguru75 »

Here are some restoration pictures of my Pacesetter Grizzly project. I had posted these before but had some forum issues that seem to have deleted the thread.

This is a car that I have had for a number of years and moved it to the front burner to get some work done on it. Unfortunately, it got pushed to the back burner awaiting parts but it should be progressing now that I have found some of the things I was looking for. I'll post new pictures as it nears completion, but for now here are the pictures I have on hand.

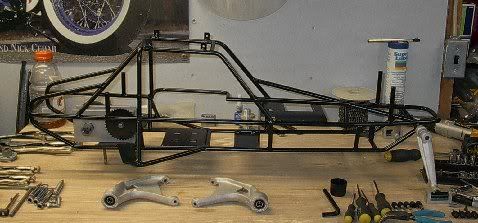
How it looked when I received it. Not my bench, mine is nowhere as clean as this one. :wink: My photos are taken on the satellite bench.
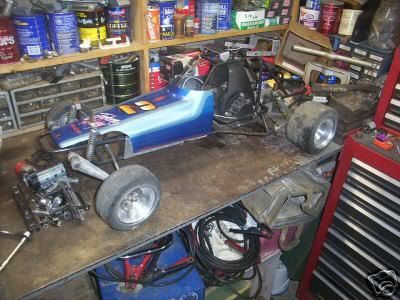
Image

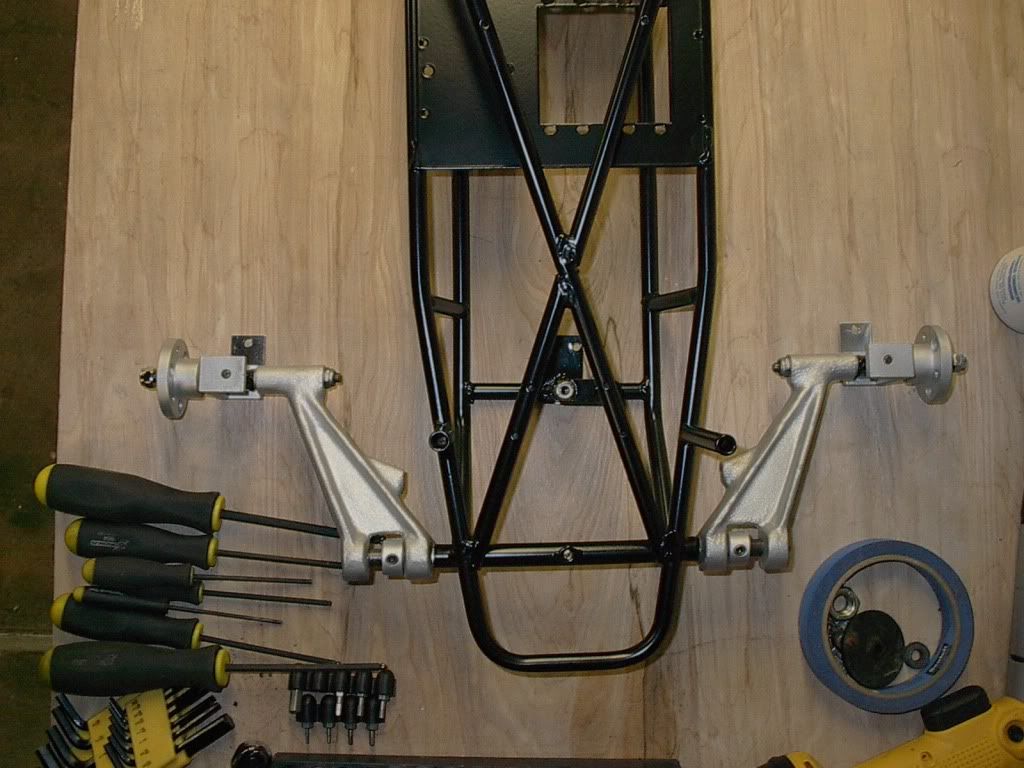
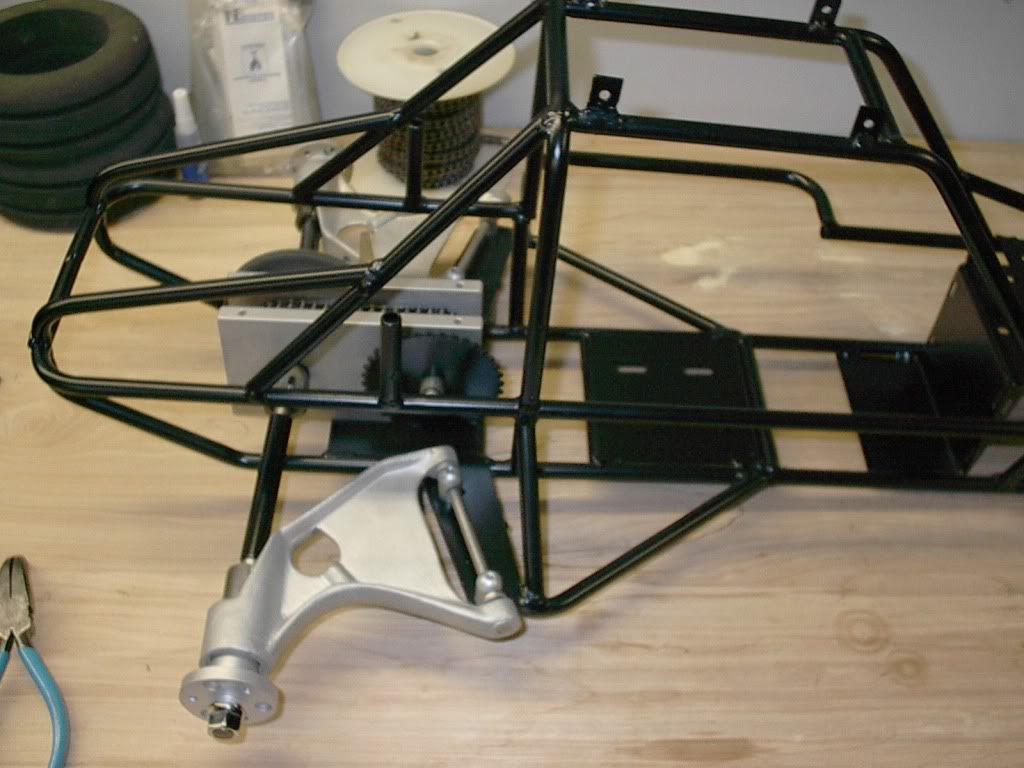
Chassis back from powder coating and some assorted cleaned parts.
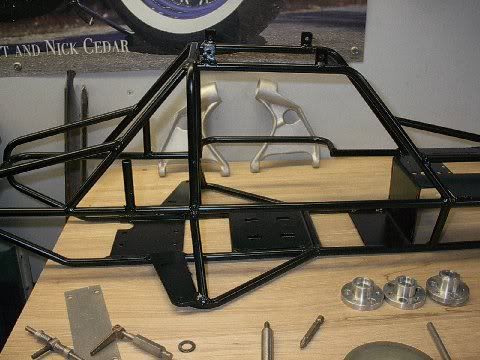
Image
Image

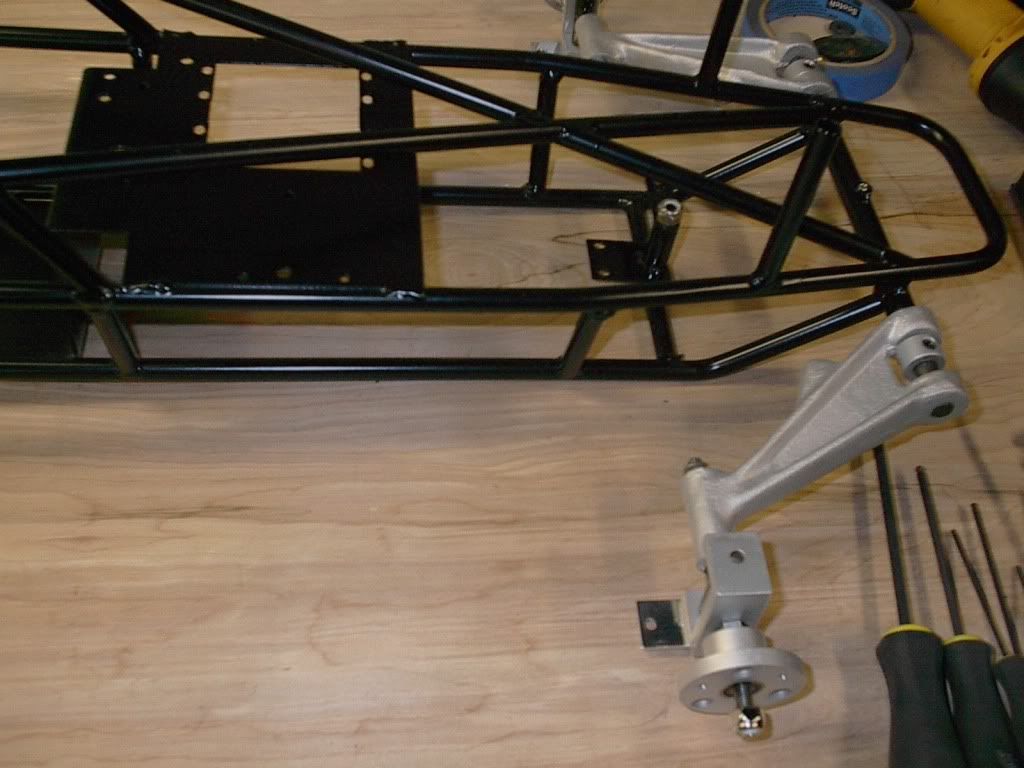
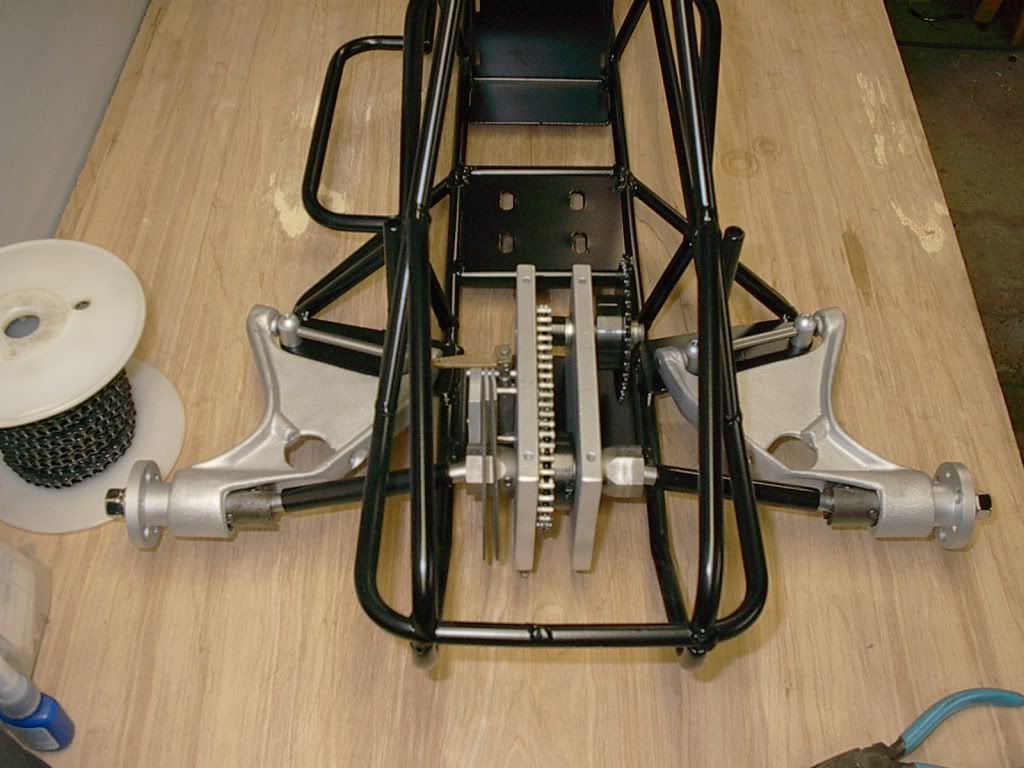
Front end coming together. Still need to install rods and rod ends.
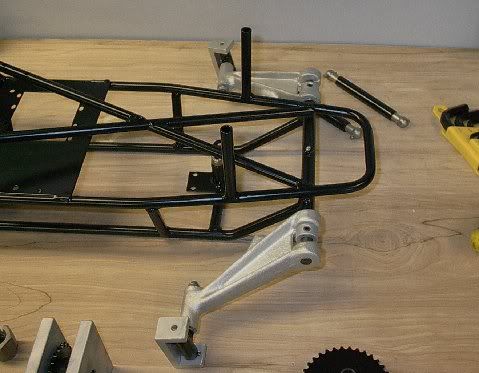
Image
Image
Image

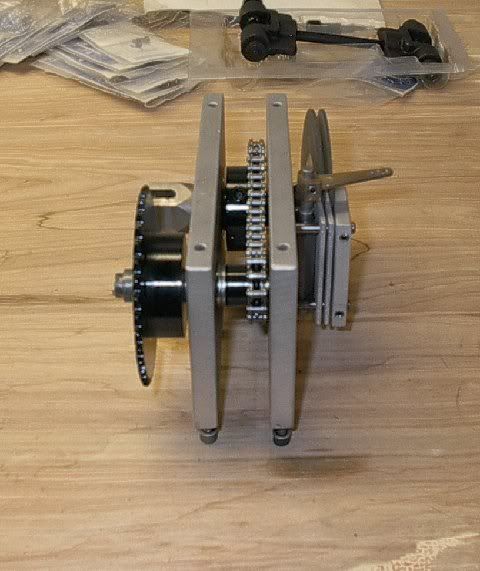
Trans looking like a trans again instead of a pile of parts.
Image

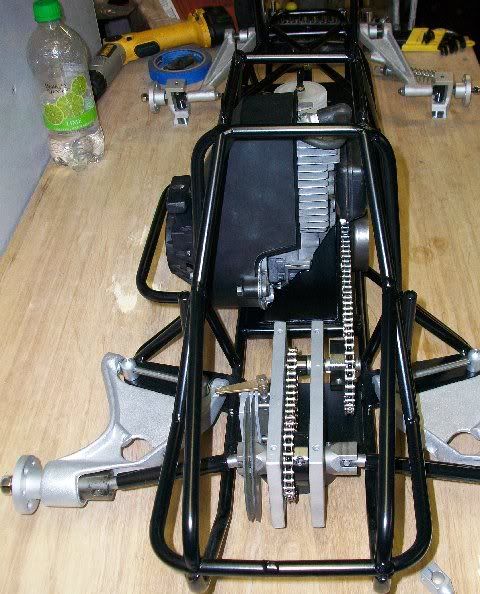
Back end coming together.
Image
Image

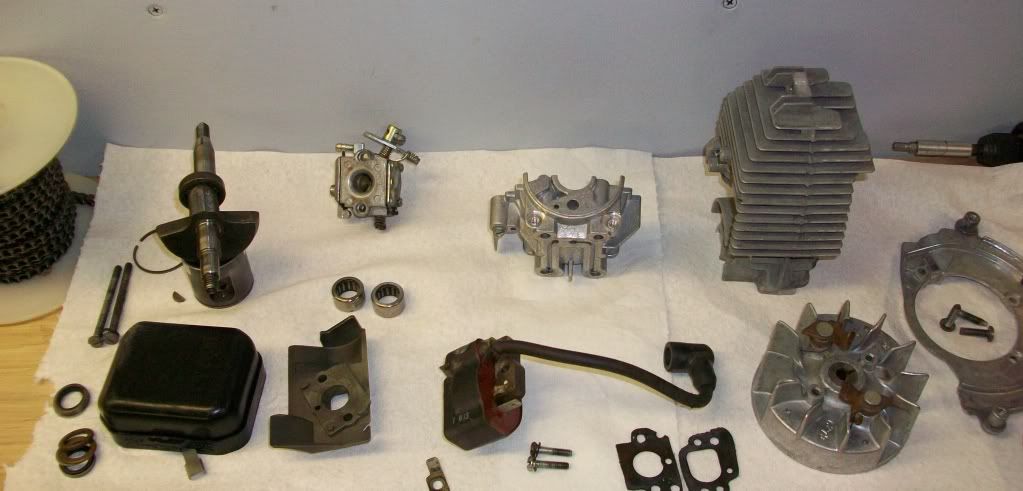
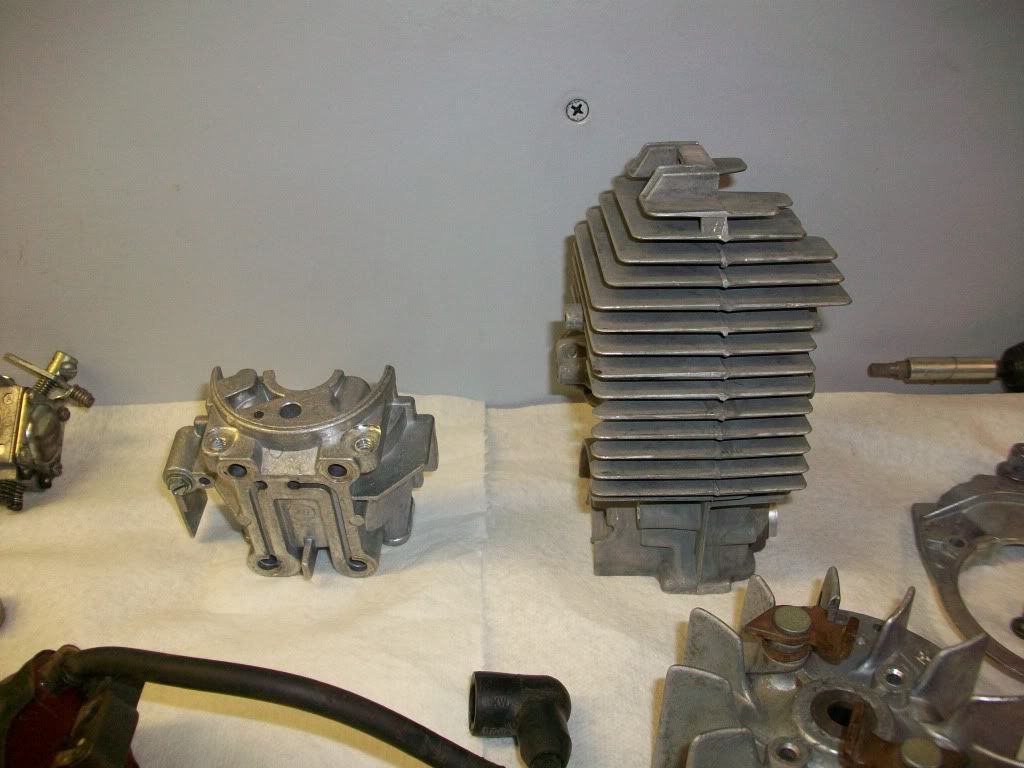
Exploded view of a 35cc engine!!
Image
Image

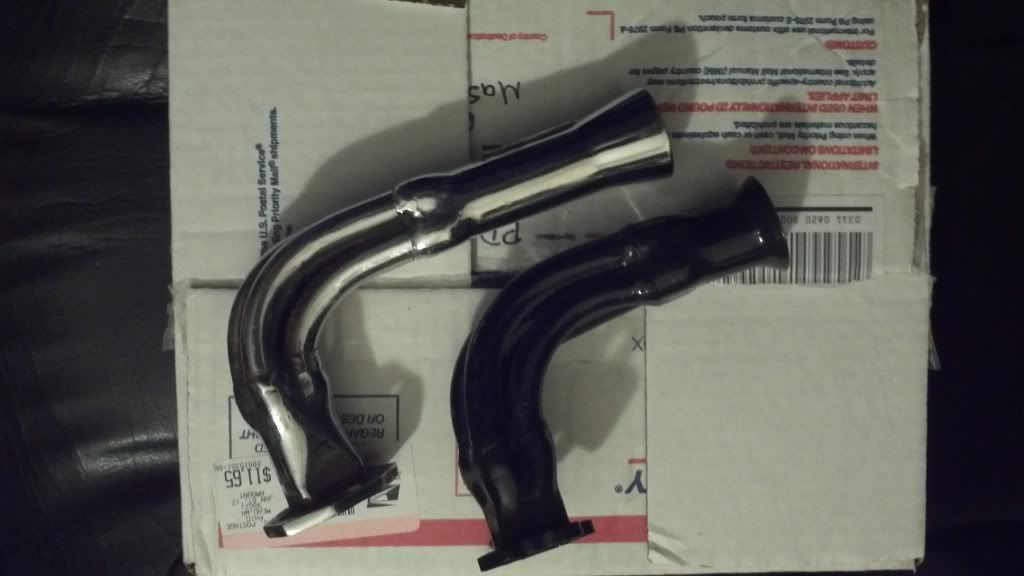
Need to decide on what pipe.
Image

What it should look like if you remember where everything goes.
Image
Image

Filling in some empty spaces of the chassis.
Image
Image

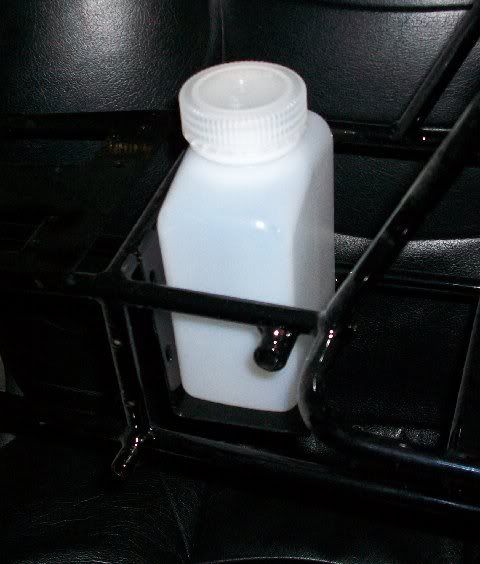
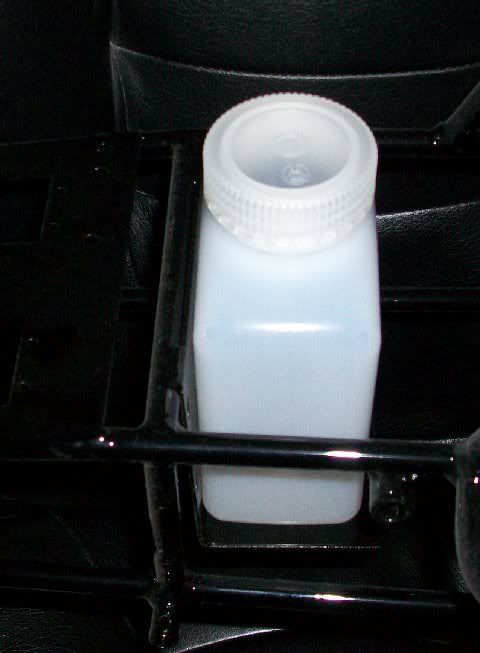
Ahhhhh, nothing beats the look of a new fuel tank.
Image
Image

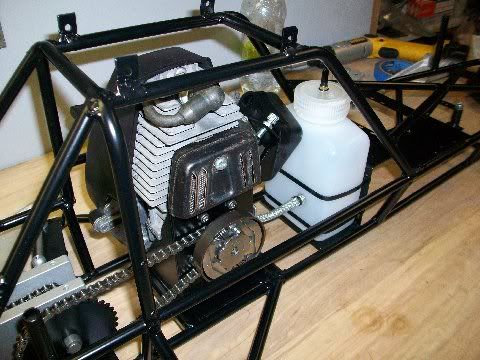
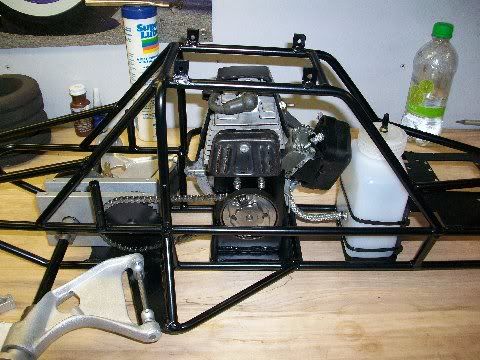
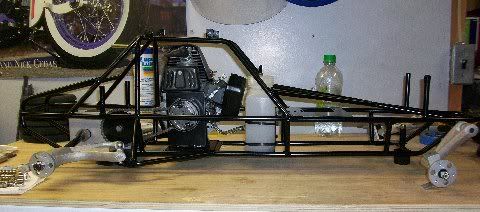
Added a little bling with the new stainless chain and braided fuel line. :)
Image
Image
Image
Image

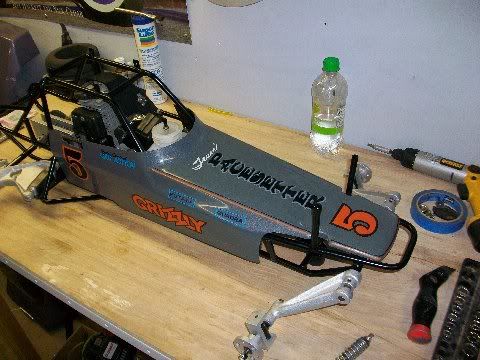
A body I have that has real nice original lettering, shame it has a little damage up front. It pains me to have to re-paint this one because of it's originality and period correctness.
Image
Image

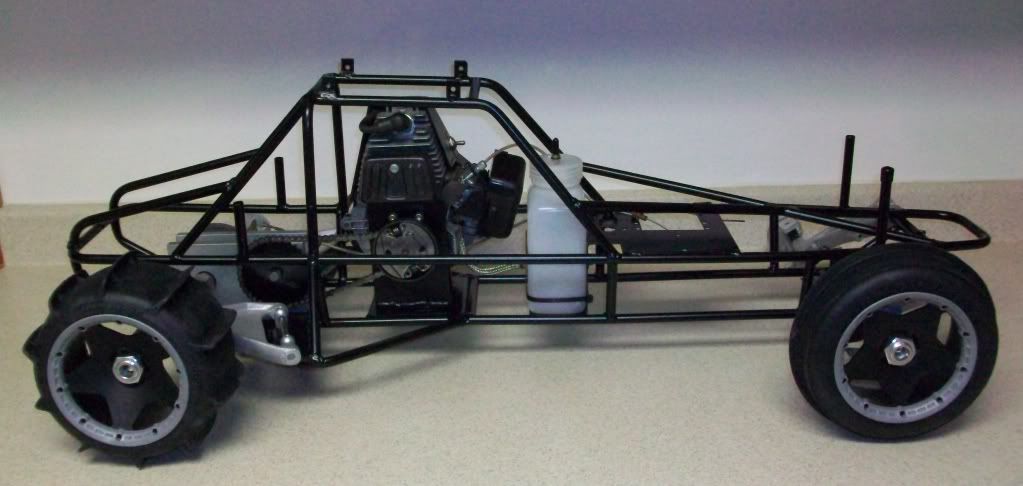
Mock up of wheels I intend to use. Finishing the hubs soon to do a final mounting.
Image

Hope to finish this one up soon and start on another project. Have some loose ends to tie up like shocks and some other assorted stuff.

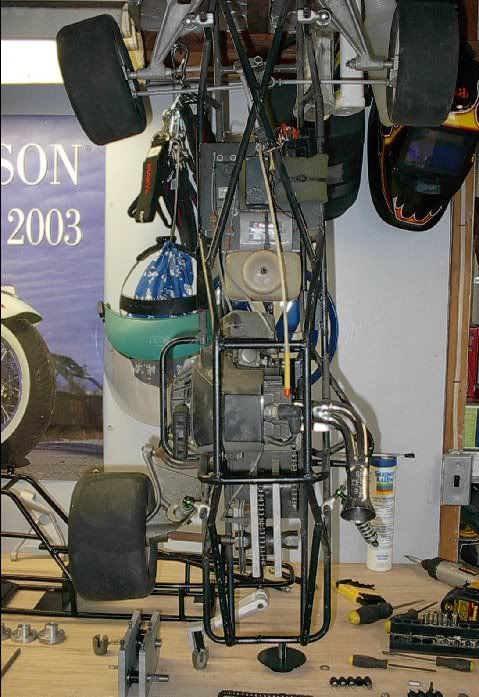
There's another one of these in the collection that will be restored too but it's not at the front of the list. It did it's part in helping as an assembly manual for the first one though!
Image
Craig's List..............eBay for people that can't spell.
User avatar
a187lbird
1/4 scale guru
Posts: 280
Joined: December 19th, 2009, 2:57 pm
Location: Miami, Fl

Re: Pacesetter Grizzly Restoration

Post by a187lbird »

I am not a fan of the grizzly, but this car looks great!
Duct tape is like the force. It has a light side, a dark side, and it holds the world together.
Al Gibson (QSL)
Legacy Member
Posts: 799
Joined: November 9th, 2013, 3:36 pm
Location: San Diego, CA
Contact:

Re: Pacesetter Grizzly Restoration

Post by Al Gibson (QSL) »

Awesome project!
Bobby Dodger
1/4 scale guru
Posts: 171
Joined: July 6th, 2011, 8:03 pm

Re: Pacesetter Grizzly Restoration

Post by Bobby Dodger »

You do nice work vee dub

Cheers
Rick F
Joegreasemonkey
Newbie
Posts: 5
Joined: February 3rd, 2014, 11:41 am

Re: Pacesetter Grizzly Restoration

Post by Joegreasemonkey »

I know this is an older thread . But any updates ? Any plans to make some more of the hubs to use those hpi wheels ?
User avatar
vwguru75
1/4 scale guru
Posts: 123
Joined: November 17th, 2013, 6:26 pm

Re: Pacesetter Grizzly Restoration

Post by vwguru75 »

Been focused on some other things as of late......like shoveling snow and very busy at work. I had not thought about making adapters for the masses, just a few sets for some of my Raco and Pacesetter buggies. Need to replace some parts on a tool to complete the adalpters then I'll get back on them.

Nice buggy you picked up. Let me know if you want to get rid of it.
Craig's List..............eBay for people that can't spell.
Joegreasemonkey
Newbie
Posts: 5
Joined: February 3rd, 2014, 11:41 am

Re: Pacesetter Grizzly Restoration

Post by Joegreasemonkey »

Yours looks nice , I hope mine gets there someday . I think it was a good buy at 50 bucks . Hopefully I can find some adapters for the paddle tires to turn it into a sand drag buggy .
Post Reply