1/4 Scale Top Fuel Dragster PROJECT!!!!

This is your place to post your restoration from start to finish. Factory built cars only. All others go in the home brew section.
PaulSongas
1/4 scale guru
Posts: 246
Joined: November 12th, 2009, 9:24 am
Location: Stacy, MN

Re: 1/4 Scale Top Fuel Dragster PROJECT!!!!

Post by PaulSongas »

Update

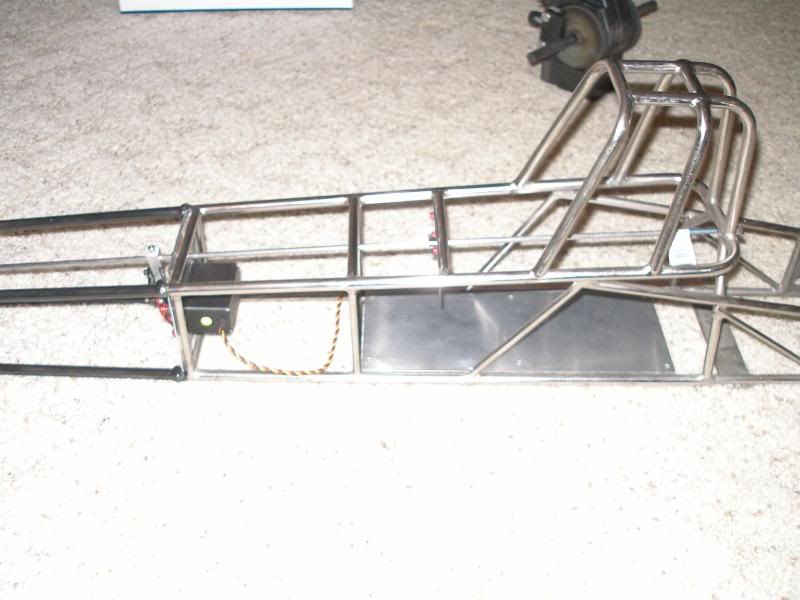
I got everything taken apart pretty much except the engine, driveshaft and rear end. The chassis is bare.

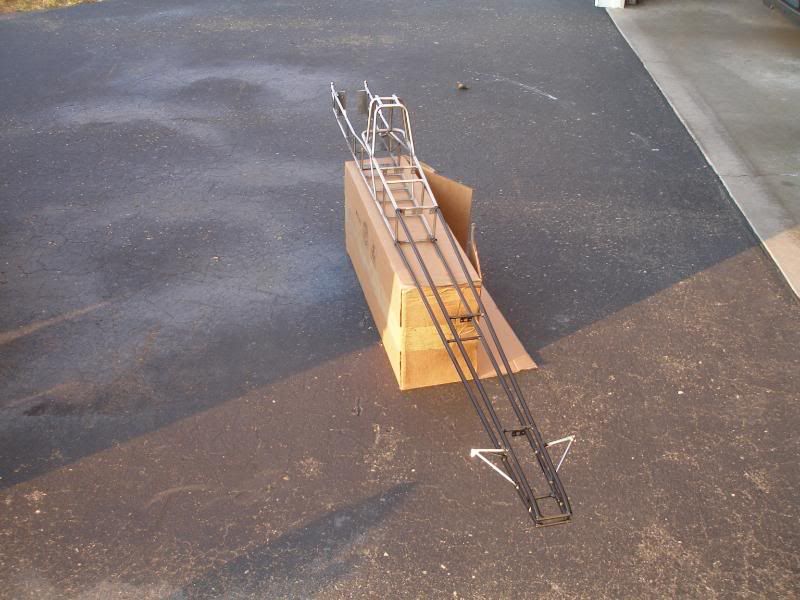
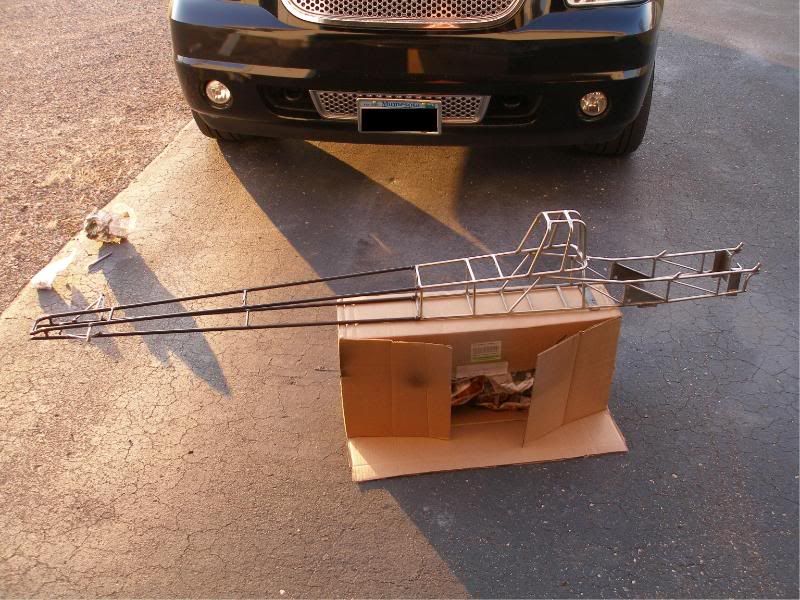
The wheelie bars and the wing stand are cleaned, polished and pretty much done.

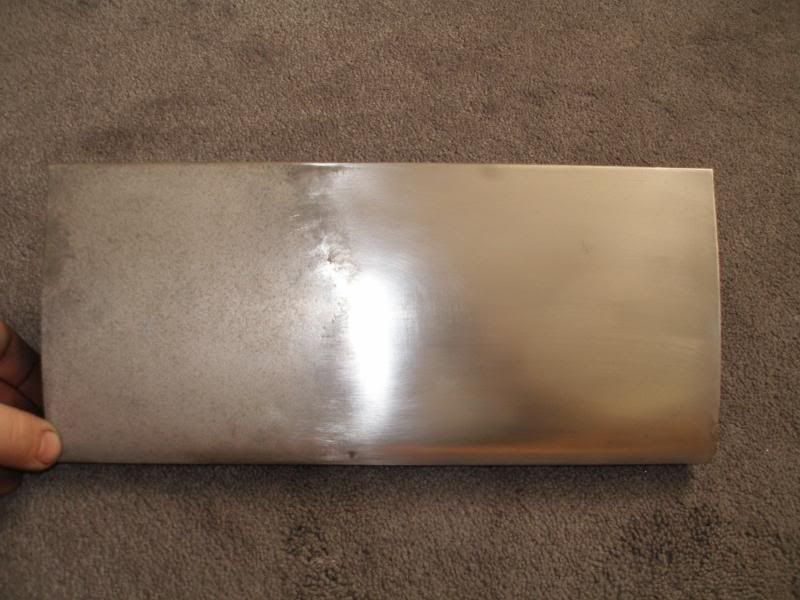
The rear wing itself is cleaned, sanded, and buffed about as good as I can get it. It's not bad at all. I just need to add new spill plates on the side, and make a new bracket to attatch it to the wing stand.

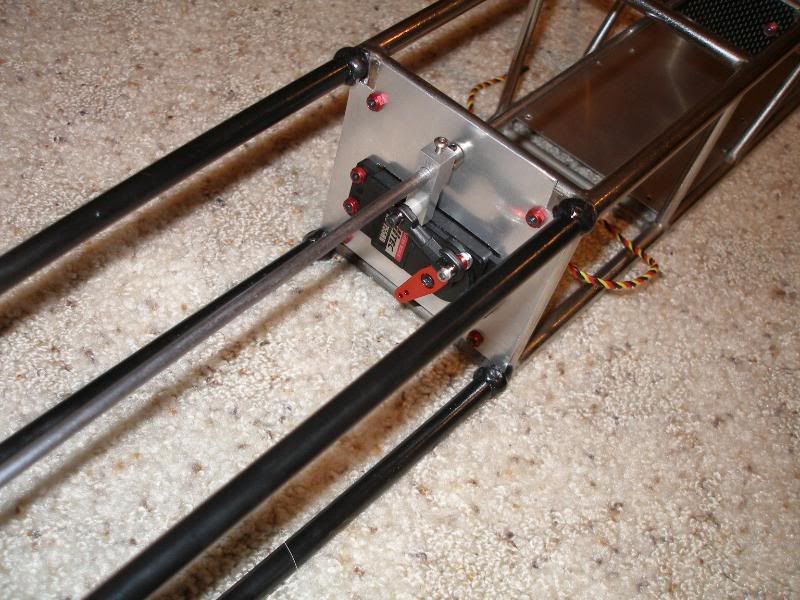
The chassis... Well from the front of the footbox to the rear is chrome. From the footbox forward was just painted or bare steel, except chrome a-arms. I started to clean up the chrome section and roll cage tonight, and what a pain! So many bars and tight corners to try and clean. This is going to take some time!! :D
NHRA # P582
troppo
Newbie
Posts: 65
Joined: August 5th, 2009, 12:06 am

Re: 1/4 Scale Top Fuel Dragster PROJECT!!!!

Post by troppo »

That is one killer project, i`ll be following this one for sure.
Cant beat the look of a naked dragster
PaulSongas
1/4 scale guru
Posts: 246
Joined: November 12th, 2009, 9:24 am
Location: Stacy, MN

Re: 1/4 Scale Top Fuel Dragster PROJECT!!!!

Post by PaulSongas »

The chassis is pretty much set to go. I cleaned up the chrome section, and it came out pretty nice. I also sanded down and re painted the front section of the chassis. So far I am happy with the results.


Image

Image
NHRA # P582
M.R. Ogle

Re: 1/4 Scale Top Fuel Dragster PROJECT!!!!

Post by M.R. Ogle »

WOW!!!
That cleaned up purdy good. I can't wait to see a "Before and After" shot of this one.

I'm surprised that you haven't posted this on RC Drags.com yet.
PaulSongas
1/4 scale guru
Posts: 246
Joined: November 12th, 2009, 9:24 am
Location: Stacy, MN

Re: 1/4 Scale Top Fuel Dragster PROJECT!!!!

Post by PaulSongas »

Wing is all all set to go, except new side plates. I got the angle adjusters built, and all new aluminum mounting brackets made. Here is a shot of the top of the wing part way thorugh cleaning/buffing.

Image
NHRA # P582
troppo
Newbie
Posts: 65
Joined: August 5th, 2009, 12:06 am

Re: 1/4 Scale Top Fuel Dragster PROJECT!!!!

Post by troppo »

That is going to be a real stunner mate, cant wait for more pics
User avatar
Mike Casey
Legacy Member
Posts: 4181
Joined: December 28th, 2004, 9:28 pm
Location: Corona, CA
Contact:

Re: 1/4 Scale Top Fuel Dragster PROJECT!!!!

Post by Mike Casey »

when you do up the body, you should call it "out of the flames" or "flames of glory" :D
www.quarterscalelegends.com The Awesome history of 1/4 scale!!
troppo
Newbie
Posts: 65
Joined: August 5th, 2009, 12:06 am

Re: 1/4 Scale Top Fuel Dragster PROJECT!!!!

Post by troppo »

How about "The Pheonix", she has risen from the ashes of a fire after all :D
kenazzo2000
1/4 scale guru
Posts: 162
Joined: August 25th, 2009, 8:36 am

Re: 1/4 Scale Top Fuel Dragster PROJECT!!!!

Post by kenazzo2000 »

troppo wrote:How about "The Pheonix", she has risen from the ashes of a fire after all :D
or raise of the titanic lol nice job mate
PaulSongas
1/4 scale guru
Posts: 246
Joined: November 12th, 2009, 9:24 am
Location: Stacy, MN

Re: 1/4 Scale Top Fuel Dragster PROJECT!!!!

Post by PaulSongas »

The Footbox cap/steering servo mount is just about done. I know it's not the ideal steering servo location, but it came this way stock and I kind of like it. Linkage runs off the servo, to the main steering shaft down the center. It rotates the entire shaft so it not only turns the front wheels, but the steering wheel as well.

Image


I also got a good start on the aluminum belly pan for the foot box (which is going to hold most of the electronics) , and came up with a much better way to attatch it then the factory zip ties. :mrgreen:
NHRA # P582
PaulSongas
1/4 scale guru
Posts: 246
Joined: November 12th, 2009, 9:24 am
Location: Stacy, MN

Re: 1/4 Scale Top Fuel Dragster PROJECT!!!!

Post by PaulSongas »

I got most of the steering worked out today, and did a quick mock up. I also made new steering shaft guides, and did a little more work the belly pan.

Image

Image

Image

Image


ALSO!! Today via UPS I got a gracious donation from LRU-- A replacement RACO rear end housing. :mrgreen: The one I had was "well done". I swaped out the guts, buffed out the aluminum bell, and it came out good!!! The Brake discs have seen better days, but they will work just fine.

Image
NHRA # P582
big maestro
Legacy Member
Posts: 329
Joined: February 2nd, 2006, 5:29 pm
Location: sumter, s.c

Re: 1/4 Scale Top Fuel Dragster PROJECT!!!!

Post by big maestro »

Paul, I hate to ask but can you take the bell off the rear and take a pic for me. Ever since you put this car up here I have been wondering how they did the drive shaft set-up. I am going to build a top fuel car soon and was thinking of possibly using this set-up.

Thanks, Lance
PaulSongas
1/4 scale guru
Posts: 246
Joined: November 12th, 2009, 9:24 am
Location: Stacy, MN

Re: 1/4 Scale Top Fuel Dragster PROJECT!!!!

Post by PaulSongas »

big maestro wrote:Paul, I hate to ask but can you take the bell off the rear and take a pic for me. Ever since you put this car up here I have been wondering how they did the drive shaft set-up. I am going to build a top fuel car soon and was thinking of possibly using this set-up.

Thanks, Lance
Check PMs :wink:
NHRA # P582
M.R. Ogle

Re: 1/4 Scale Top Fuel Dragster PROJECT!!!!

Post by M.R. Ogle »

With all the shiny-ness and nice new anodized hardware, it's hard to believe this is the same car that you showed at the beginning of the post.

Paul, you have found your new "thing"... great job so far!
PaulSongas
1/4 scale guru
Posts: 246
Joined: November 12th, 2009, 9:24 am
Location: Stacy, MN

Re: 1/4 Scale Top Fuel Dragster PROJECT!!!!

Post by PaulSongas »

Belly pan is all drilled up, I just need to make cut outs for the brake and parachute servos which will face out the bottom.


I also put together a box/cover for the electronics to make things a bit neater, and not have wires and batteries moving around out in the open. The bottom is cut out to the belly pan, and the top will be enclosed. I will use this to enclose the battery pack, one/both of the servos, and the receiver. I also put my on/off switch on the box cover, and also charging plugs so I won't need to remove the cover just to charge the batteries.


Image


Image
NHRA # P582
Post Reply